Unfortunately, citrix has not provided detailed step by step procedure to install VDA on Linux distributions. There are so many articles published to install VDA on windows machines whereas not for Linux distributions.
In one of my recent project, I spent lot of time to install VDA on Red Hat Enterprise Linux due to lack of detailed documentation hence I am publishing below step by step procedure to install VDA on Red Hat Enterprise Linux.
This articles covers below components installation & configuration
• RHEL 8.2 Linux Workstation VM Installation on Nutanix AHV
• XenDesktop VDA 2203 Agent Installation & configuration
• NVIDIA Graphics Drivers Installation
• NVDIA vGPU licensing
The Linux Virtual Delivery Agent (VDA) enables access to the Linux virtual apps and desktops anywhere from any device where Citrix Workspace app is installed. Install the VDA software on your Linux virtual machines, configure the Delivery Controller, and then use Citrix Studio to make the apps and desktops available to users.
Supported Linux distributions
System requirements | Linux Virtual Delivery Agent 2203 LTSR (citrix.com)
RHEL 8.2 Linux Workstation VM Installation
Mount the RHEL 8.2 ISO and boot the VM with ISO
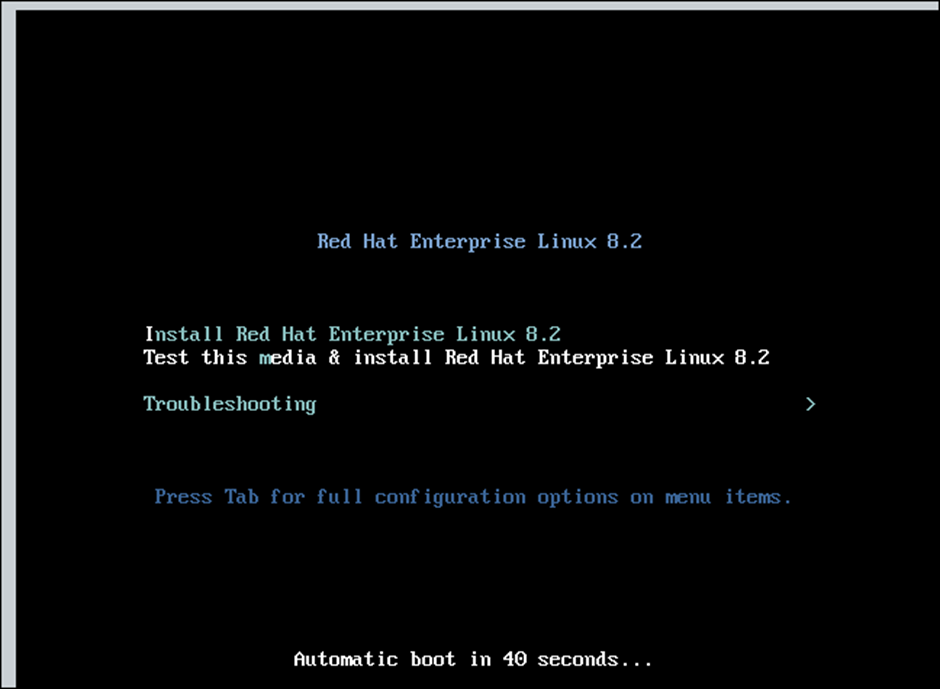
Select “Install Red Hat Enterprise Linux 8.2”
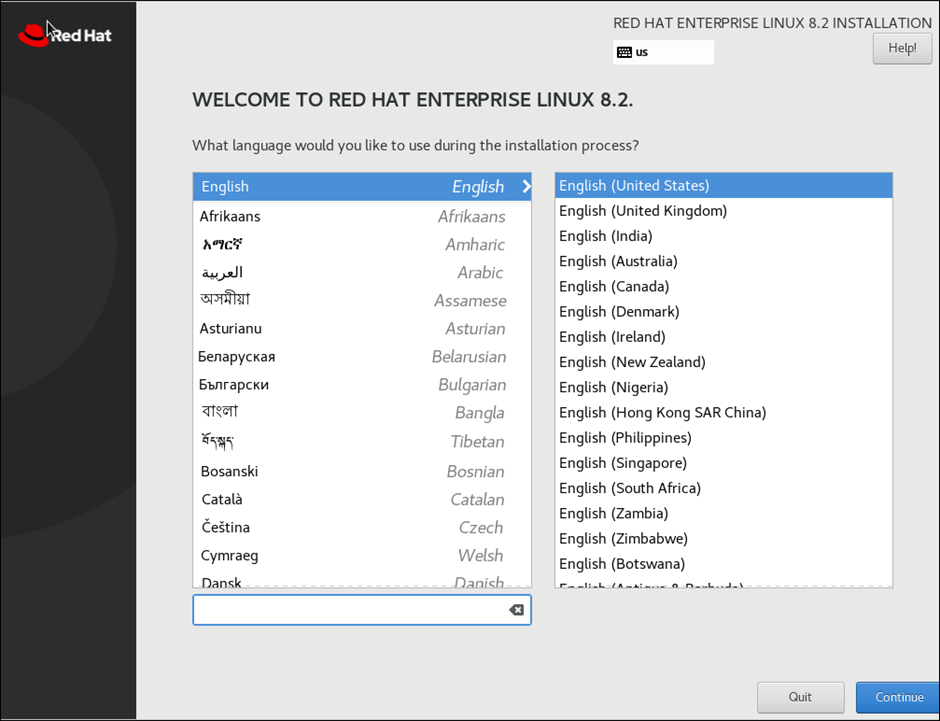
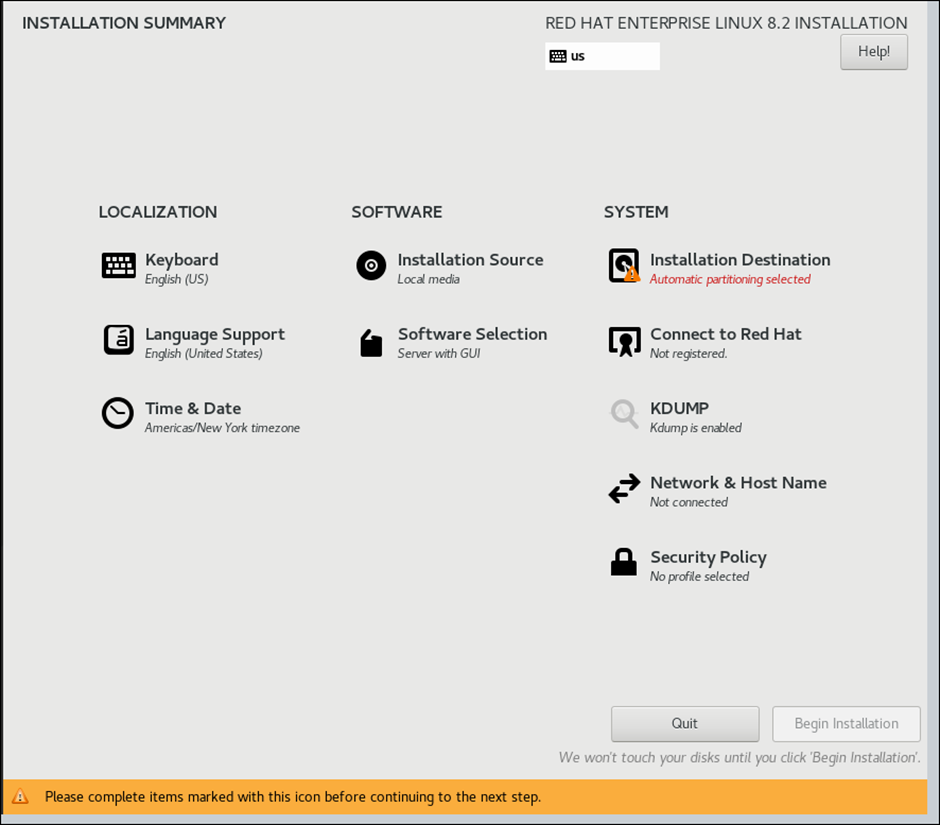
In above options, modify each installation setting based on requirement
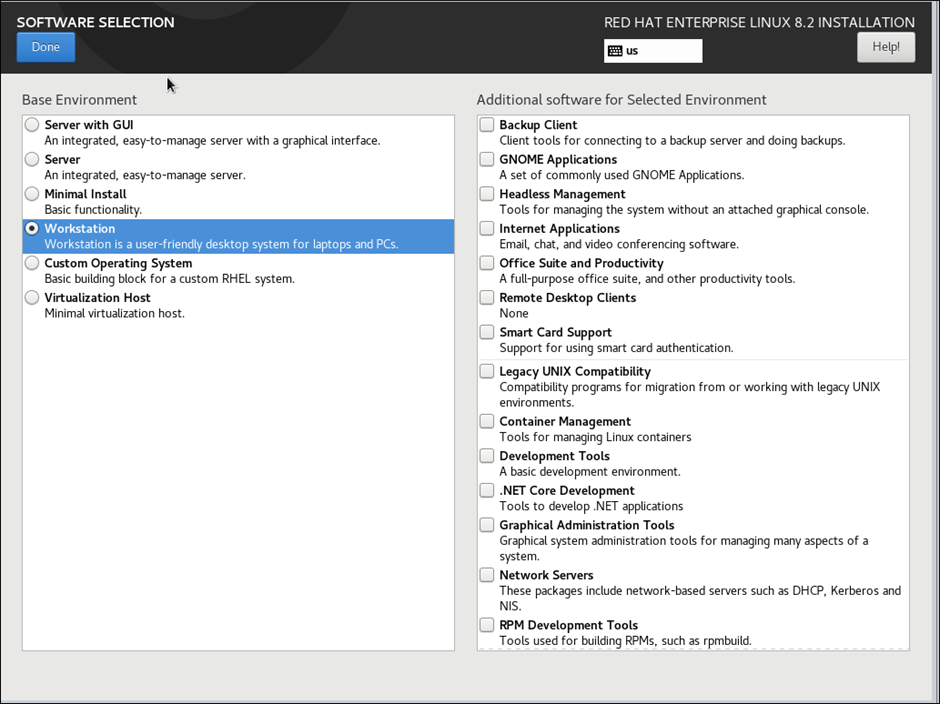
As my requirement is Linux “Workstation”, I chosen “Base Environment” , choose options based on your requirement
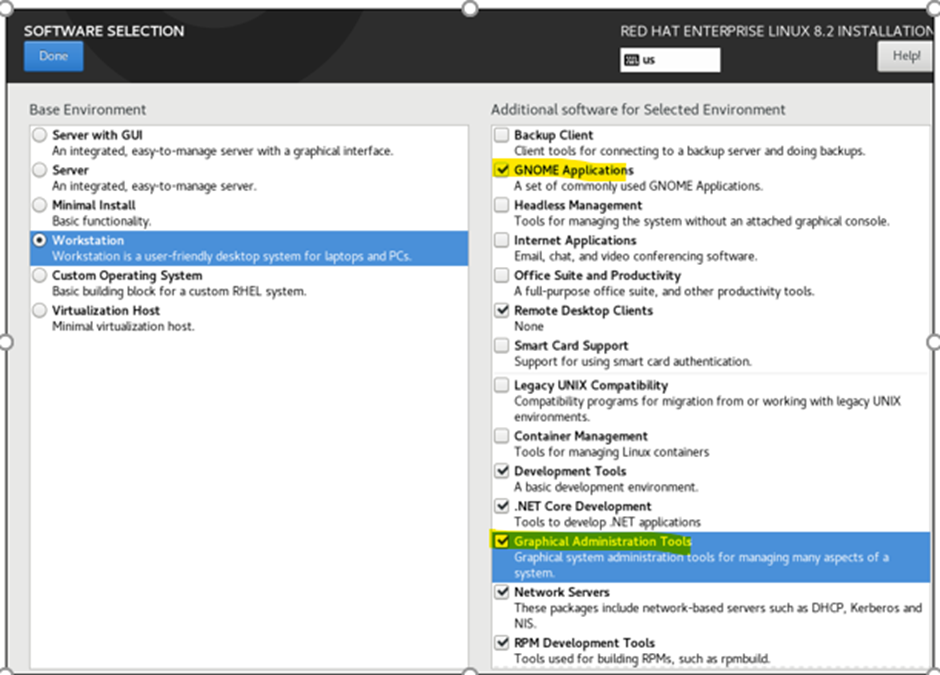
For VDA, choosing GNOME Applications & GRAPHICS Administration tools is sufficient. Choose based on your requirement
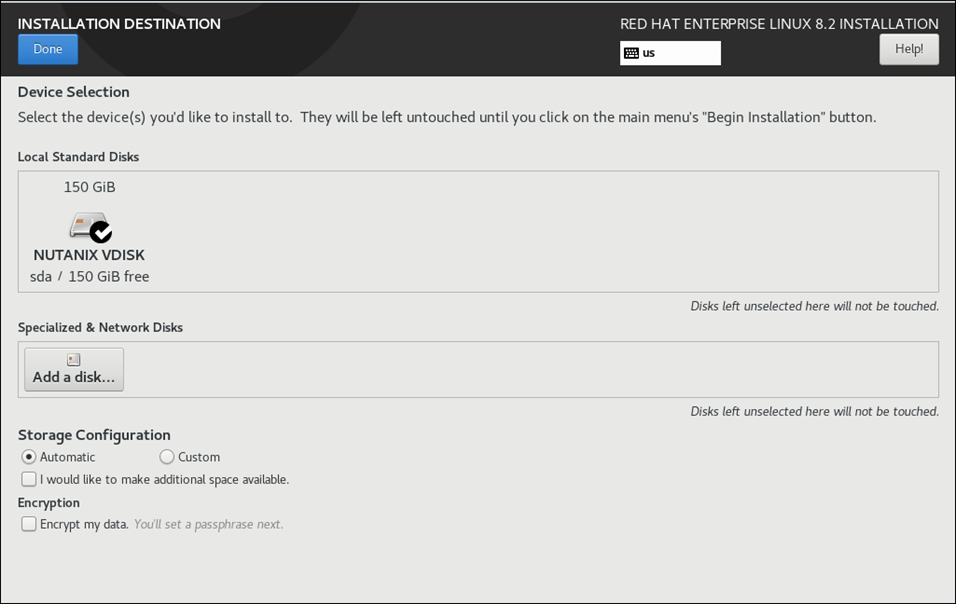
Select Automatic unless you have a specific requirements of partitions
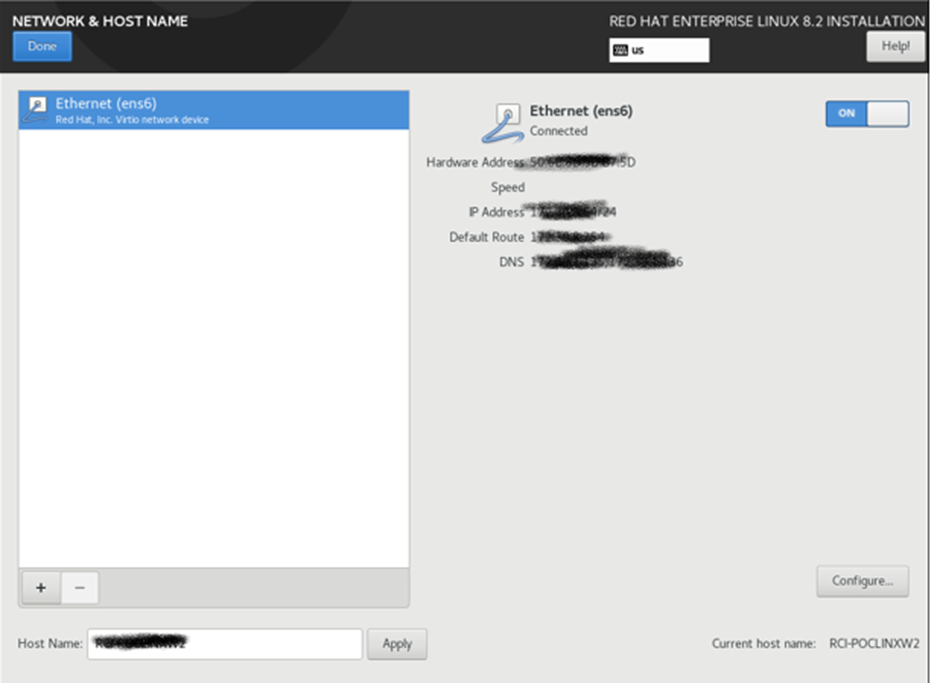
Enable Network to get IP from DHCP and Provide Hostname correctly at this page
Post Selection of all options, you will see below output


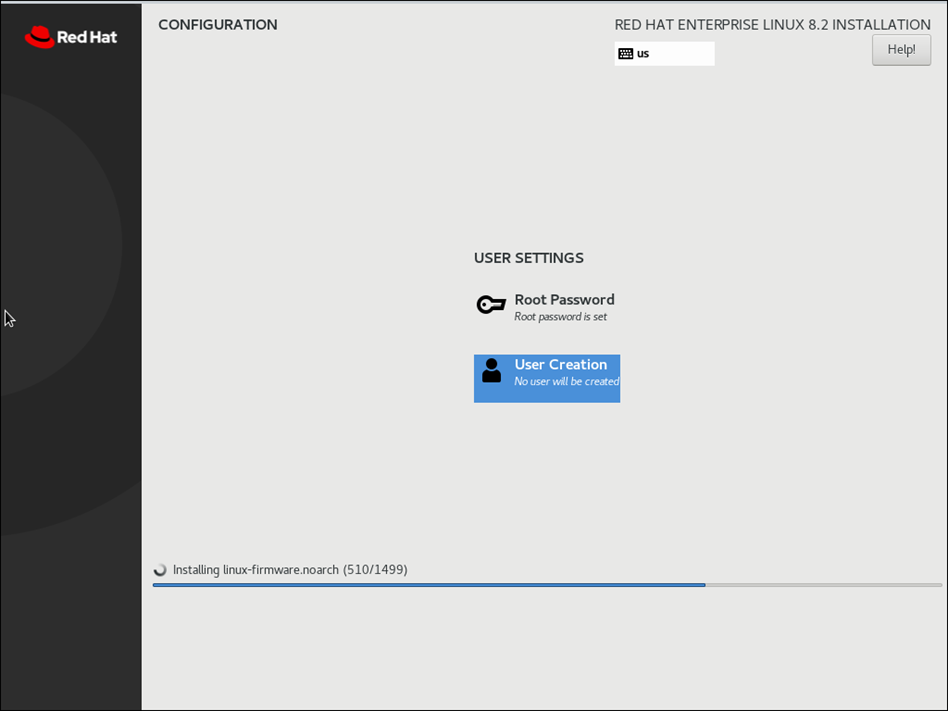
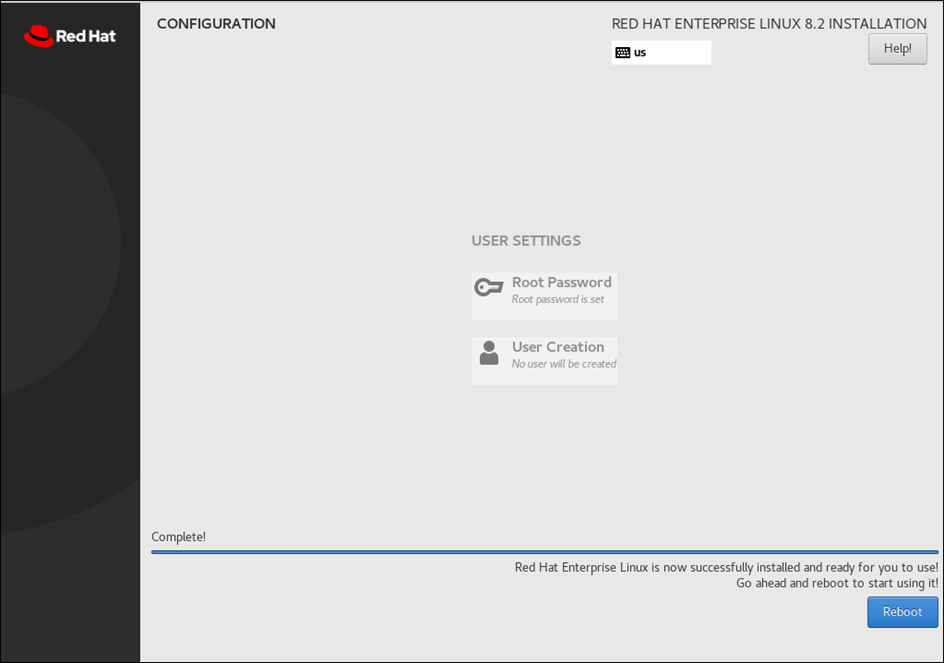
Reboot VM post installation
Note:
My Citrix VDI setup do not have proxy connectivity hence to install packages and dependencies, I need to mount YUM repository from locally mounted ISO which avoids internet connectivity for any RPM installations. Ignore YUM repository steps if VM able to connect internet
Steps to mount YUM repository locally
Mount the RHEL installation ISO to a directory like /mnt/disc, e.g.:
mkdir -p /mnt/disc
mount /dev/sr0 /mnt/disc

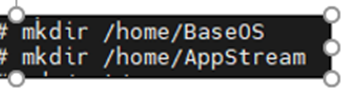
Create below directories to copy repositories
mkdir /home/BaseOS
mkdir /home/AppStream
Copy the media.repo file from the root of the mounted directory
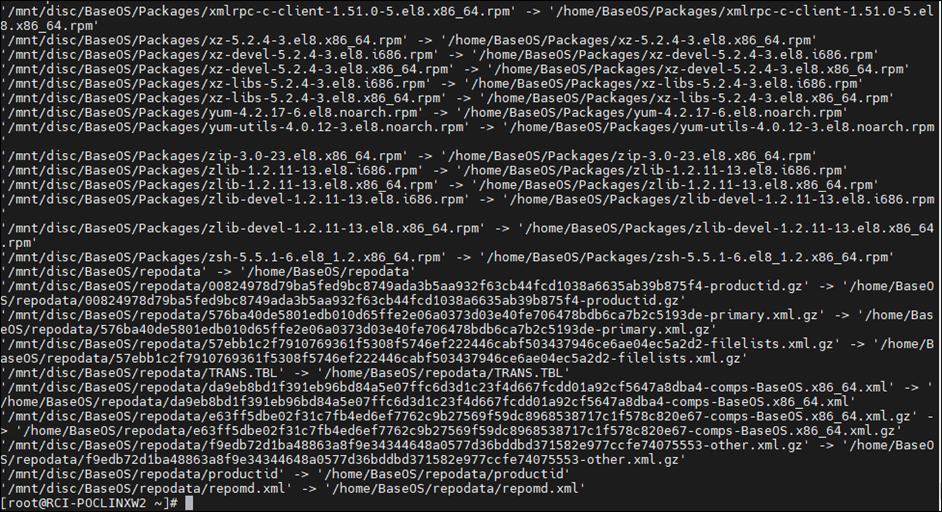
cp -ivr /mnt/disc/BaseOS/* /home/BaseOS/

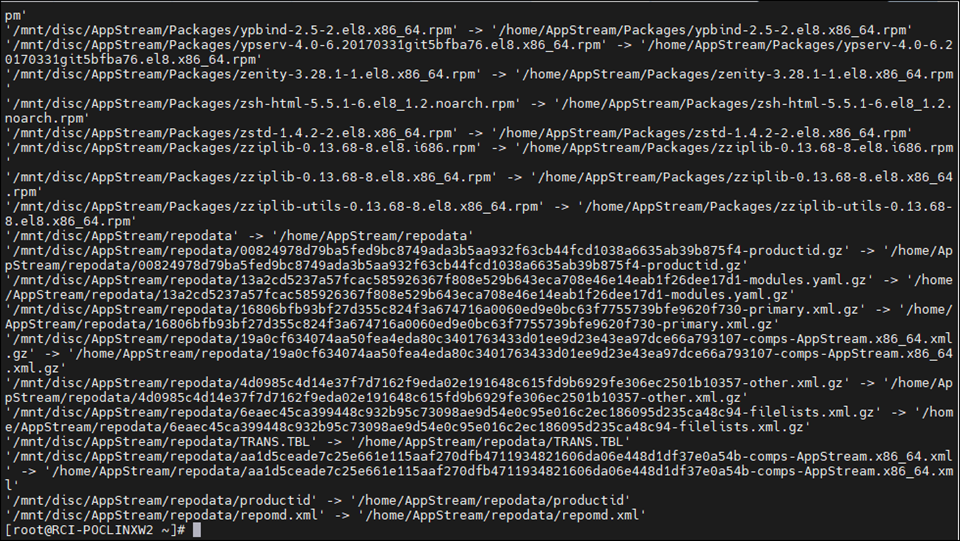
cp -ivr /mnt/disc/AppStream/* /home/AppStream/

Unmount /mnt/disc -> do after copying files
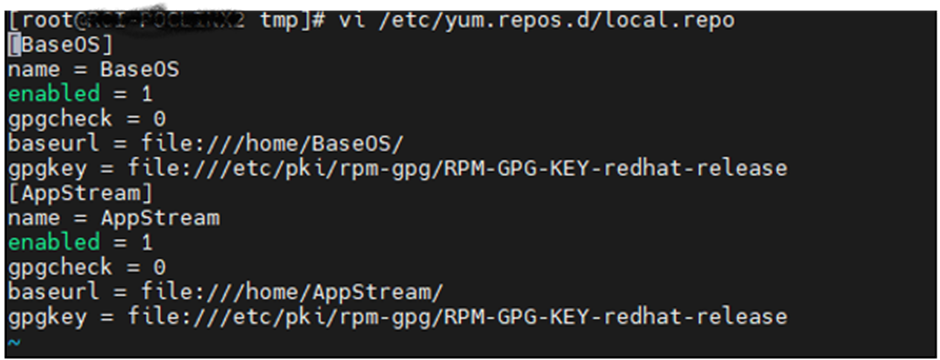
Delete files if any found under directory /etc/yum.repos.d/ and create the file vi /etc/yum.repos.d/local.repo
Note: you should have only local.repo file under /etc/yum.repos.d/
Copy and Paste the below text in local.repo
[BaseOS]
name = BaseOS
enabled = 1
gpgcheck = 0
baseurl = file:///home/BaseOS/
gpgkey = file:///etc/pki/rpm-gpg/RPM-GPG-KEY-redhat-release
[AppStream]
name = AppStream
enabled = 1
gpgcheck = 0
baseurl = file:///home/AppStream/
gpgkey = file:///etc/pki/rpm-gpg/RPM-GPG-KEY-redhat-release
Save the changes by typing wq!
Clear the cache and check whether you can get the packages list from the DVD repo with below commands
yum clean all
yum repolist enabled
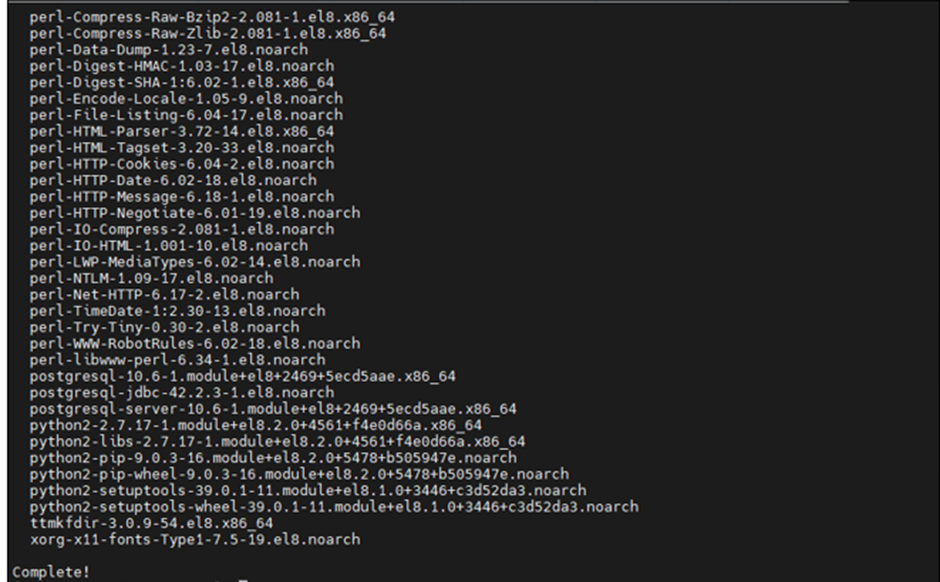
You should get below output

To disable Red Hat Subscription Management warning , edit below file and change enabled value to 0
vi /etc/yum/pluginconf.d/subscription-manager.conf

Install & Configure Linux Virtual Delivery Agent
Prerequisite for VDA: Dotnet runtime is required for VDA installation
Upload aspnetcore-runtime file to /root directory and execute below command to extract dotnet runtime
cd /root
mkdir dotnet
chmod 777 dotnet ( Note : command to change directory permissions)


Extract runtime to /root/dotnet with below comand
tar -xf aspnetcore-runtime-6.0.3-linux-x64.tar.gz -C /root/dotnet
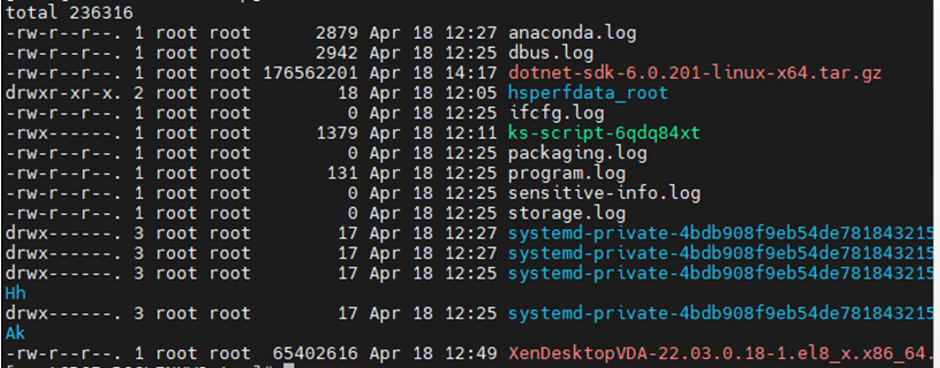
Download “XenDesktopVDA-22.03.0.18-1.el8_x.x86_64” and upload XenDesktop VDA file to /tmp directory
Note: The version used is Linux Virtual Delivery Agent 2203 an DDC version is 2112
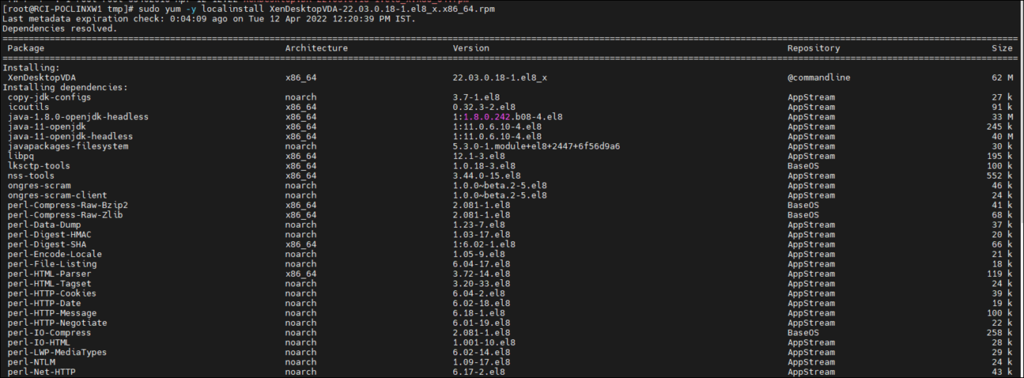
Run below command to install VDA
sudo yum -y localinstall XenDesktopVDA-22.03.0.18-1.el8_x.x86_64.rpm
Post installation of VDA, configure the VDA with below command
/opt/Citrix/VDA/sbin/ctxinstall.sh
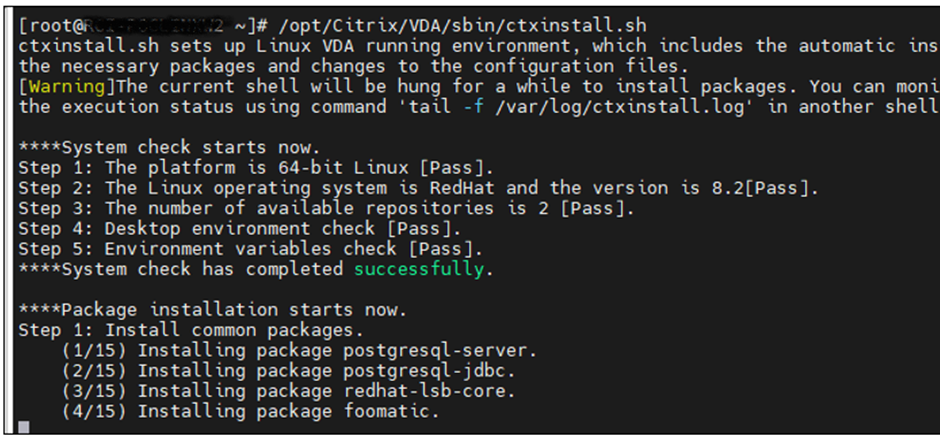
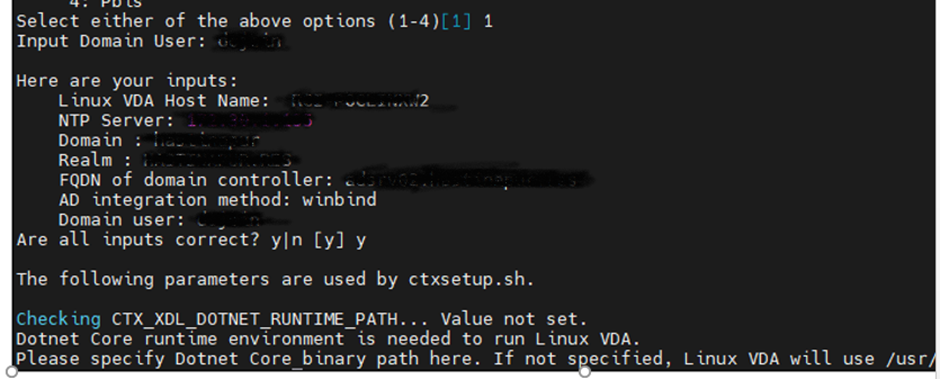
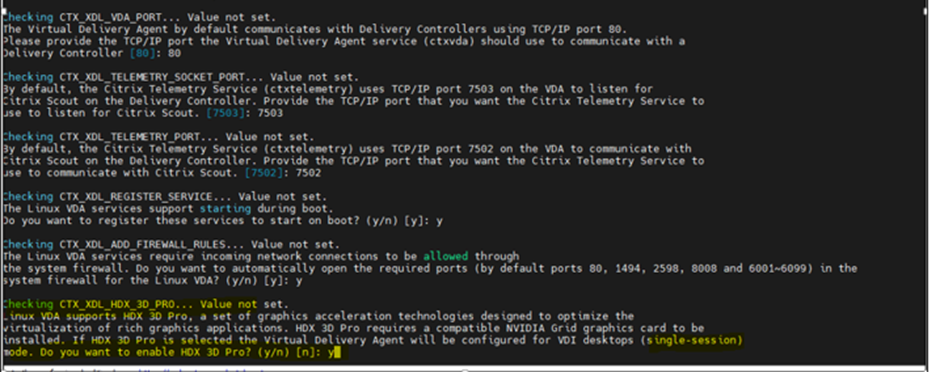
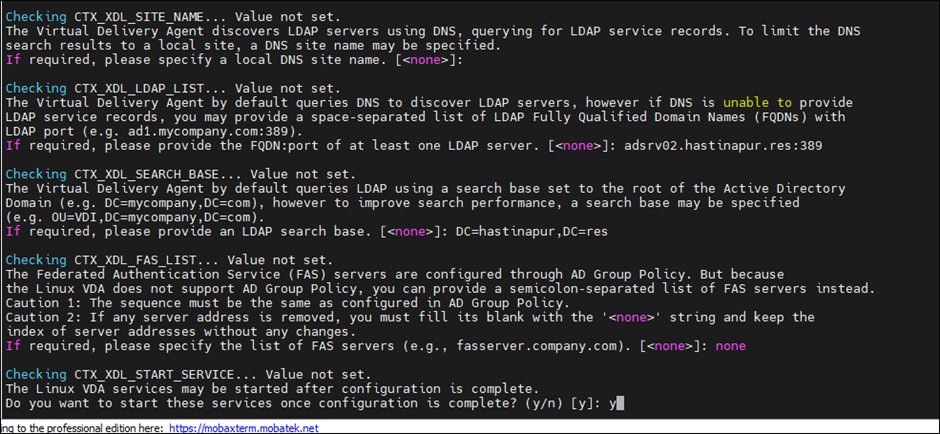
Input below values during configuration
• Host name of the machine on which the Linux VDA is to be installed
• IP address of DNA
• IP address of NTP Server
• Domain name – The NetBIOS name of the domain
• Realm name – The Kerberos realm name (Note: Name should be in CAPITAL LETTERS)
• Fully Qualified Domain Name (FQDN) of the domain controller
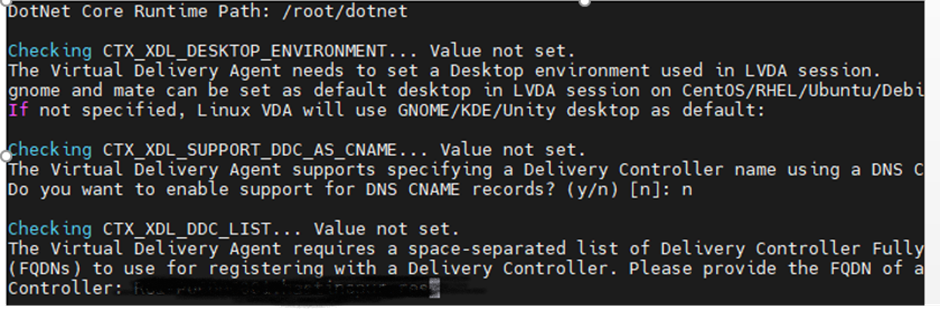
While configuring VDA, it prompts for dotnet core runtime path, set the dotnet Core Runtime path as “/root/dotnet”
Note
• As my requirement is for graphics (GPU), here I selected “Y” HDX 3D pro. Select “N” if VDI do not require Graphics
• Linux multisession does not support “HDX 3D PRO” select “NO” if requirement is for multi session and no graphics card required.
• If HDX3D pro enabled then mandatorily NIVIDIA graphics drivers are to be installed else, while launching VDA grey screen appears because Linux by default search for graphics drivers
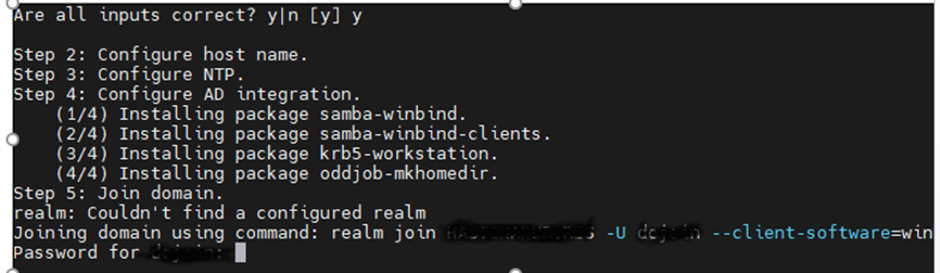
Cross verify the below Inputs before proceed further

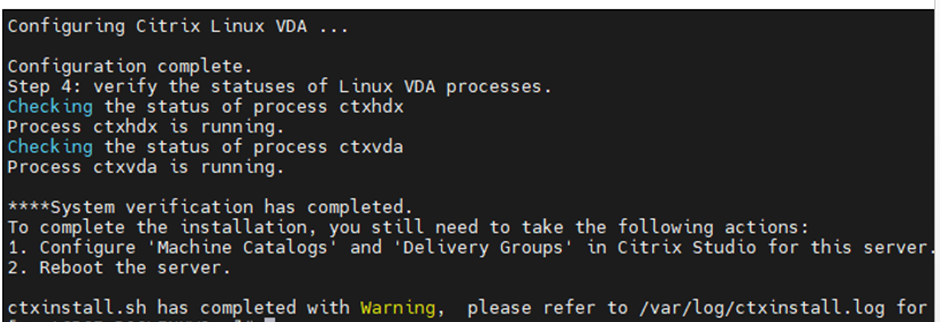
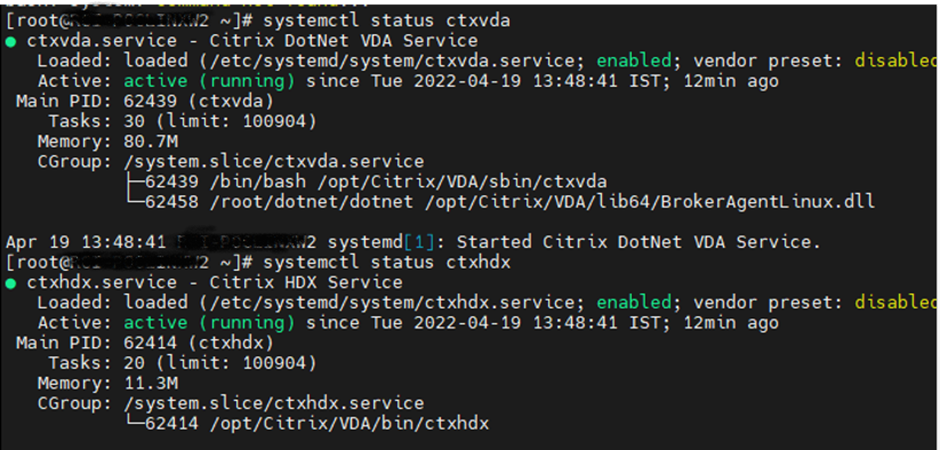
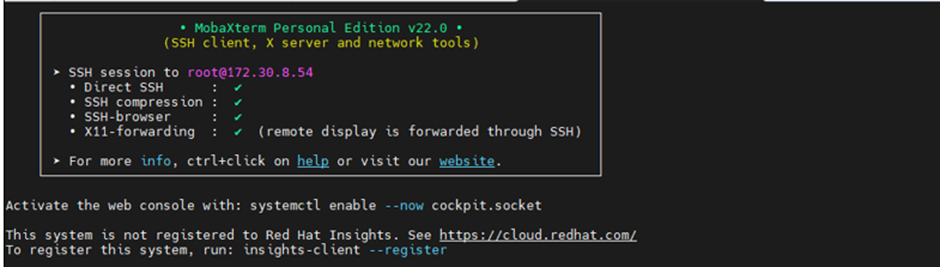
Post VDA Installation and configuration. Need to check the below 2 services status
systemctl status ctxvda
systemctl status ctxhdx
NVIDIA Graphics Drivers installation & vGPU license assignment
Follow below steps, if VDI has requirement to enable Graphics else ignore the steps
Prerequisite for NVIDIA Guest drivers installation: Assign GPU or vGPU to VM
Upload the NVIDIA drivers (highlighted) to /root folder

Note: Upload 2 NVIDIA guest drivers(highlighted above) into /root folder
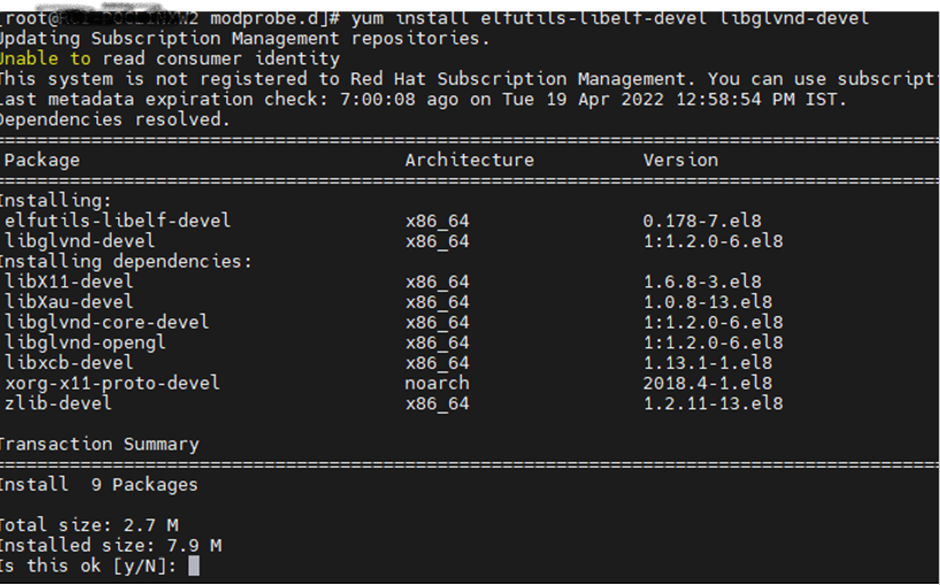
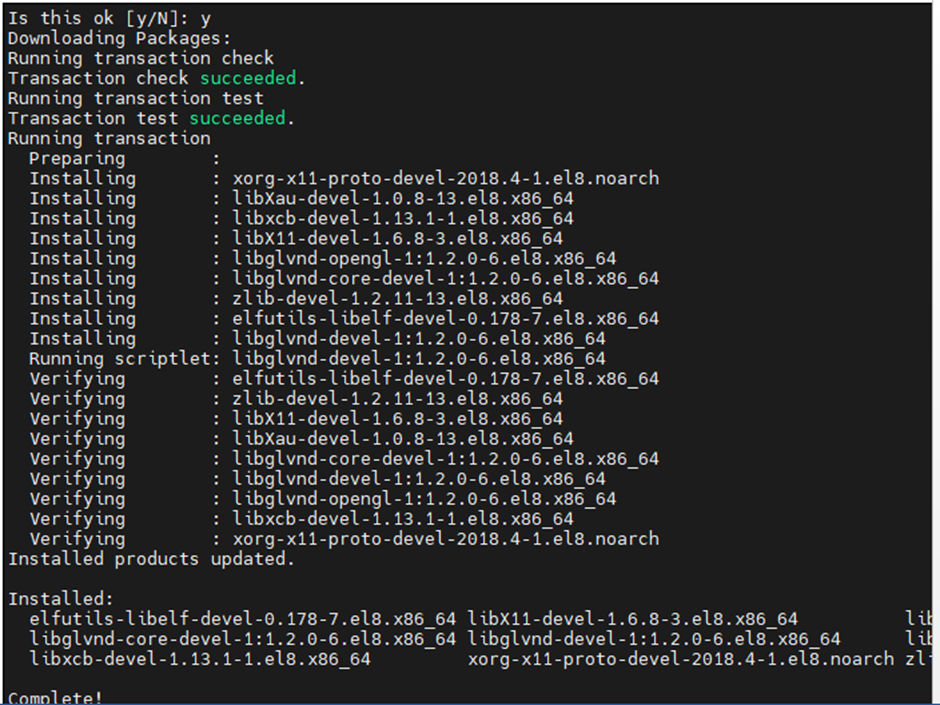
Install the below dependencies one by one before install of NVIDIA drivers
yum install elfutils-libelf-devel libglvnd-devel
yum install gcc
yum install gcc kernel-devel
yum install gcc kernel-headers
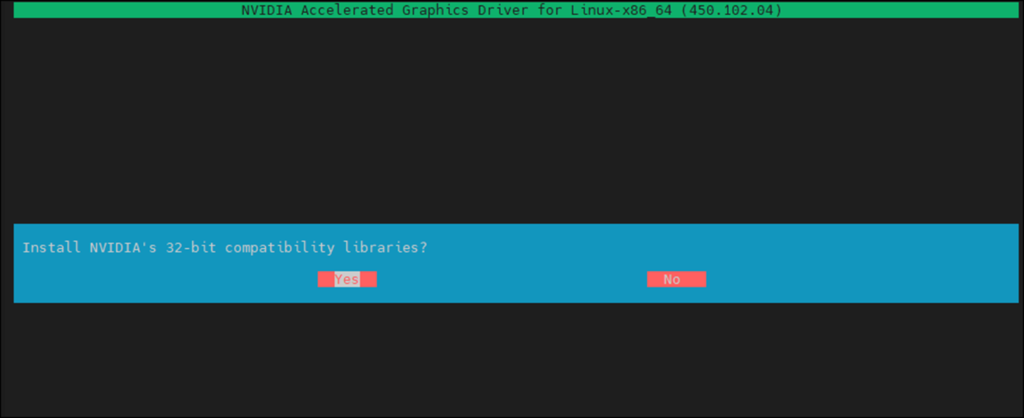
Once successfully installed. Install NVIDIA Package with below command
bash ./NVIDIA-Linux-x86_64-450.102.04-grid.run


Note: Without NVIDIA license server assignment, VDI functionality will be minimum hence map NVIDIA license server for complete functionality.
vGPU License Server Assignment on Linux
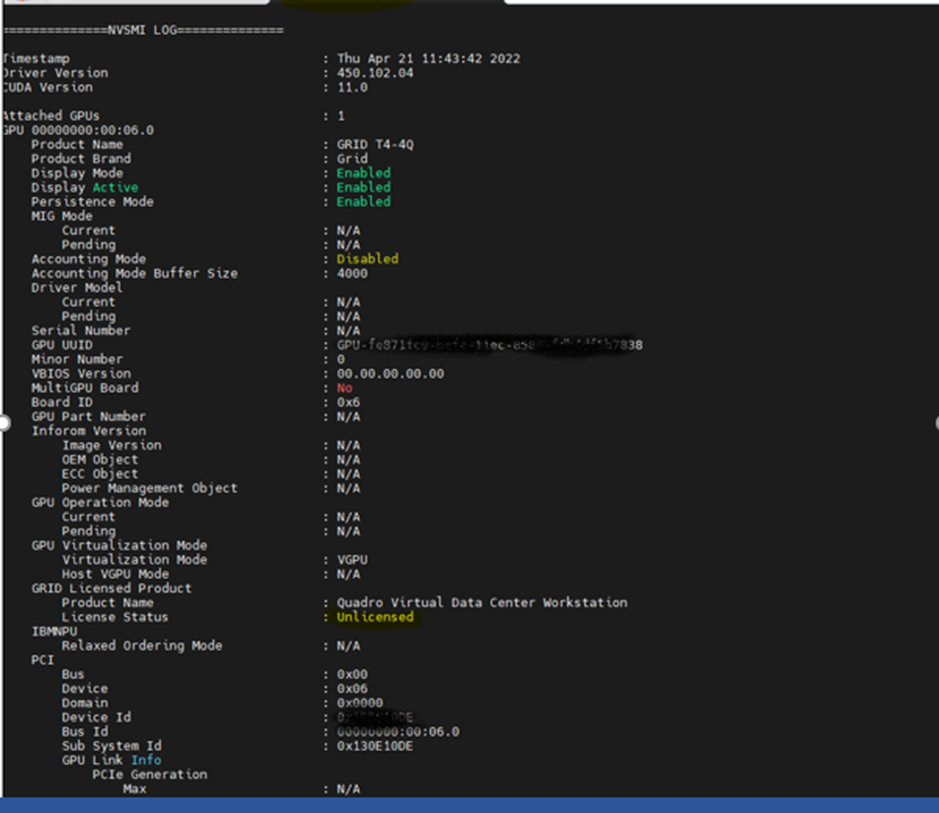
run below command to check license status
nvidia-smi –q
Ouptut before License server assignment
To provide NVIDIA License Server on Linux workstation, edit the file gridd.conf with below steps
cd /etc/nvidia/

Create new file “gridd.conf ” by using “gridd.conf.template” file
cp gridd.conf.template gridd.conf

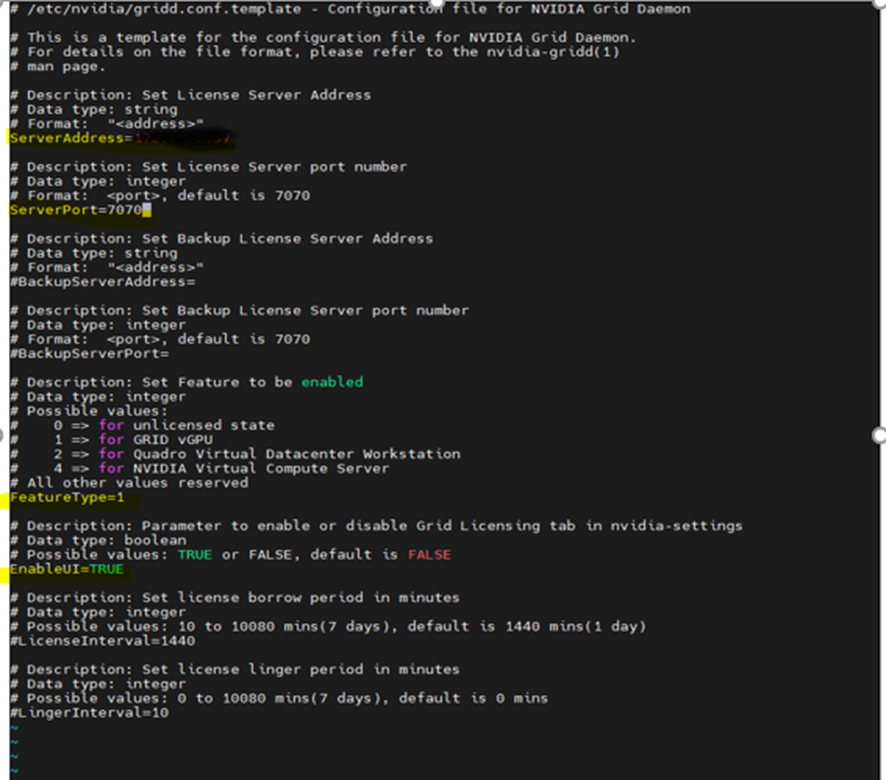
Edit the /etc/nvidia/gridd.conf by vi editor with below highlighted values
ServerAddress=IP Address
ServerPort=7070
FeatureType=0
EnableUI=TRUE ( uncomment by removing #)
Stop & start nvidia service for license reflection
sudo nvidia-gridd stop
sudo nvidia-gridd start

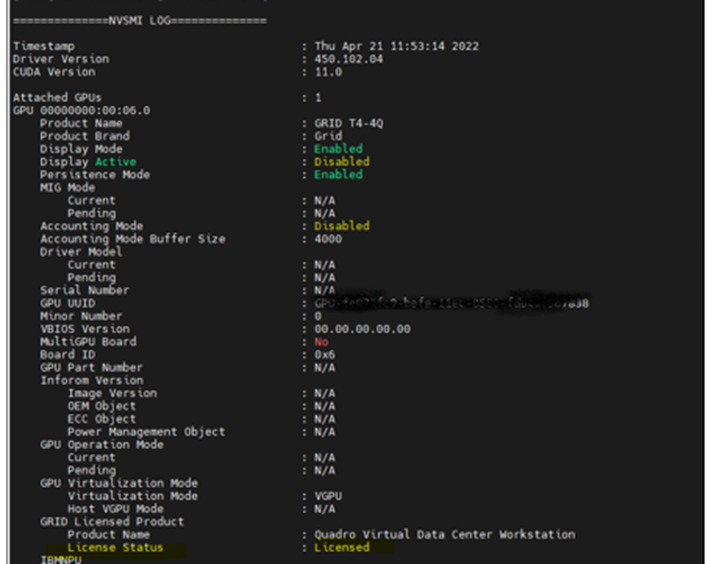
Run command nvidia-smi –q to check license status and verify logs /var/logs/messages
If license not applied then restart VM.
Post License server assignment, you should get below output
Note: My use case is to create Machine Catalog with Unmanaged hence I created catalog and assigned VM’s directly to catalog. If your use case is to create Master Image and rollout VDI with MCS, follow below Citrix KB.
KB References
Quick installation by using easy install
XD Collect Traces
Streaming Linux target devices